
Guides
Step-by-step DONT SPLASH guides: pick your difficulty, read the map through yellow platforms and arrows, use the hotbar and survive your first escape without panicking.
Introduction
The Guides hub is the fastest way to learn DONT SPLASH from the ground up. Whether you just spawned into your first lobby or you have already touched the water a few dozen times, the articles here walk through the three skills that actually decide runs: choosing the right difficulty, reading the map through yellow platforms and wall arrows, and managing noise so the blind monster IT never learns where you are. We also cover the hotbar, the tools that share it, and the retry mindset that separates players who quit after one splash from players who memorize routes and escape consistently.
Guide Types at a Glance
| Guide Type | Focus | Best For |
|---|---|---|
| Beginner Guide | Difficulty, objective, hotbar basics | First-time players who want a calm first escape |
| How to Escape | Yellow platforms, arrows, valves, exit | Players stuck mid-run or losing to the water rise |
| Monster Basics | Splash triggers, audio cues, pebble lures | Anyone who keeps getting intercepted by IT |
| Tools & Loadout | Pebbles, flares, battery, rescue rope | Players who want to control the route reliably |
| Economy & Passes | Cash, upgrades, 11 game passes | Players deciding what to grind or buy |
Journey Roadmap
Beginner Guide
Your first 30 minutes
How to Escape
The full winning route
The Monster IT
Understand your hunter
Pebbles & Tools
The loadout that carries runs
Game Pass Review
Eleven passes, honest verdicts
Core Mechanics
DONT SPLASH progression follows a clear loop that repeats until the route is muscle memory. You spawn on a dry platform above the flooded maze, pick a starting path, and move forward by crossing floating platforms while the water below stays silent. The map guides you with yellow platforms and black arrows painted on walls and in dry corridors, so navigation never depends on a minimap — you learn to read the environment instead. Along the way you can open the maintenance lock by turning two valves, bank the cash you earn from clearing rooms, and spend it in the lobby on upgrades such as throwing range, pebble skipping and rescue speed. Every completed escape also carries a permanent payout, which raises the question of which tools and passes deserve a slot in your limited loadout.
Advantages
The biggest advantage of following the Guides hub is that you skip the most expensive part of DONT SPLASH: the trial-and-error phase where every mistake costs a run. The articles compress hundreds of community attempts into concrete rules — which platforms sink, when the valves should be opened, and how to pace a bridge crossing while IT patrols nearby. Because DONT SPLASH is built around a memorized route rather than reflexes, a player who has read one good walkthrough and rehearsed it once is already ahead of an improviser who has played for hours. The hub also explains the hotbar and the tools in it, teaching you which items deserve one of your limited slots so that every run starts with a coherent plan instead of a guess.
Challenges
The main challenge of relying on guides is that DONT SPLASH punishes any gap between what you know and what you can execute. Even the clearest route breakdown will not save you if your fingers still drift near the edge on a sinking platform, and the monster does not care whether you understood the theory. The other weakness is noise awareness: many new players read about splashes and lures, then forget that every tool throw, every battery click and every landing also produces audio the monster can interpret. Finally, guides cannot cover every randomized or updated layout — after each New Stages update, re-check the recent articles before assuming your cached route still applies.
Frequently Asked Questions
Should I start on Easy or Hard?+
What do I do in my first five minutes?+
Do I need headphones?+
How many retries should I expect?+
Quick Tips
Set one small objective per run instead of chasing the whole escape at once. On your first attempt, just find the maintenance lock. On the second, open both valves. On the third, time the exit climb correctly. Isolating one objective keeps you calm, and calm players make far fewer splashes than anxious ones — composure is the most underrated escape skill in the game.
Memorize one dry route before you experiment with anything else. Because every splash alerts IT, improvisation is expensive and usually ends in a swim. Walk the same sequence of platforms three times in a row and you will complete it without thinking, which frees your attention for listening to the monster instead of fumbling with hotbar keys mid-jump.
Treat the hotbar like a ranked list, not a toolbox. Carry only the tools you will actually use in the next room. Most strong runs need pebbles for the bridge, maybe a flare for a dark corridor, and nothing else — every unused item is a slot you could have spent on a tool that changes the route.
Featured
DONT SPLASH how to throw: Controls and Revival
Learn dont splash how to throw with hotbar and input guidance, plus how checkpoints and self-revival can help players recover after risky failures.
DONT SPLASH walkthrough: Valve Route and Safe Jumps
Follow the dont splash walkthrough through yellow platforms, wall arrows, timed obstacles, rotating planks, checkpoints, and both valves to finish the escape.
DONT SPLASH Beginner Guide: Your First Escape Plan
Master the dont splash beginner guide by following yellow platforms, using black arrows, opening two valves, and avoiding the sound-hunting creature.
All Articles

DONT SPLASH easy win: Yellow Route Secrets
Find a dont splash easy win by following yellow platforms, using black wall arrows, crossing the rotating bridge, and opening both valves.

DONT SPLASH how to play with friends: 10-Player Rules
Use the dont splash how to play with friends guide to coordinate a 10-player squad, control noise, rescue teammates, and reach both valves safely.
DONT SPLASH obby guide: Master Every Jump
Master the dont splash obby guide with jumping advice, hazard awareness, and route details for floating platforms, rotating planks, and wall-marked paths.
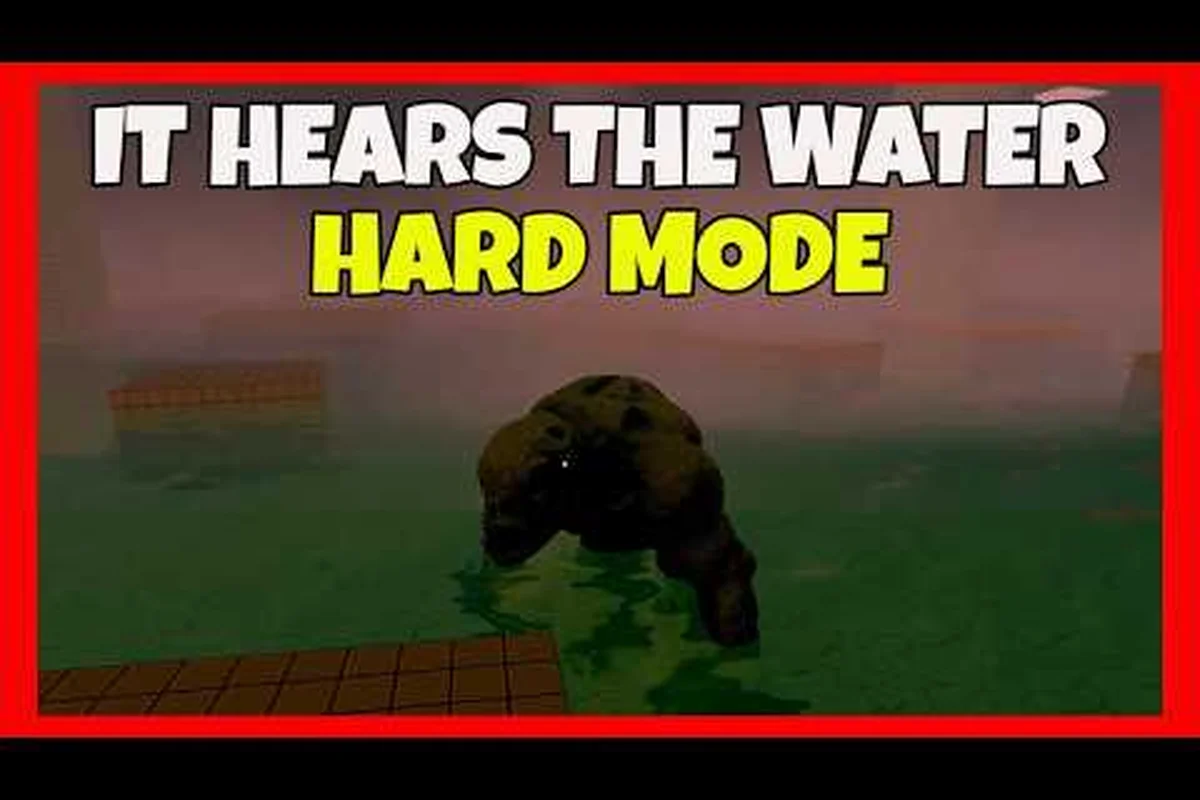
DONT SPLASH retry guide: Safer Routes and Checkpoints
Build a smarter DONT SPLASH retry loop with checkpoints, yellow-platform routes, wall arrows, and safer solo decisions after every failure.
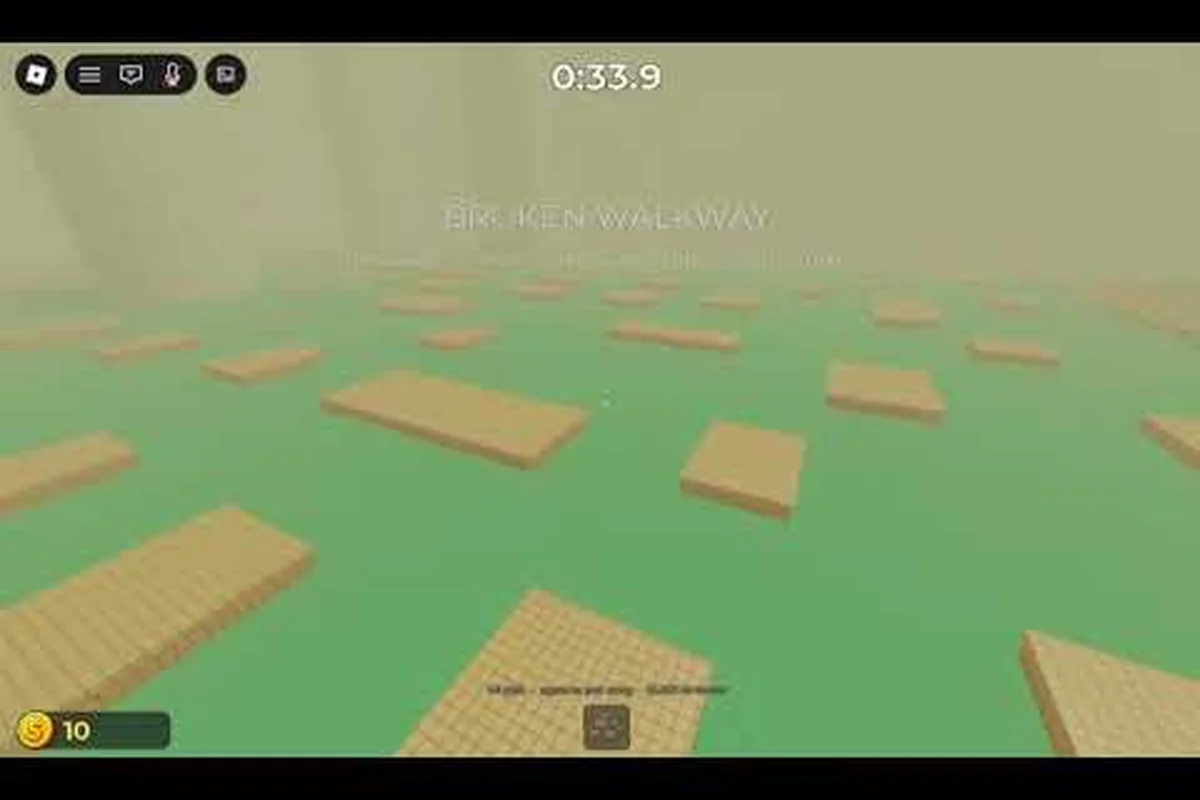
DONT SPLASH Tips for Beginners: 12 Survival Basics
Use these dont splash tips for beginners to follow wall arrows, time rotating bridge planks, avoid hazards, and make steady progress through the Roblox map.
DONT SPLASH which difficulty: Pick the Best Mode
Compare dont splash which difficulty options and choose a suitable challenge before escaping via yellow platforms, rotating planks, and the twin valves.
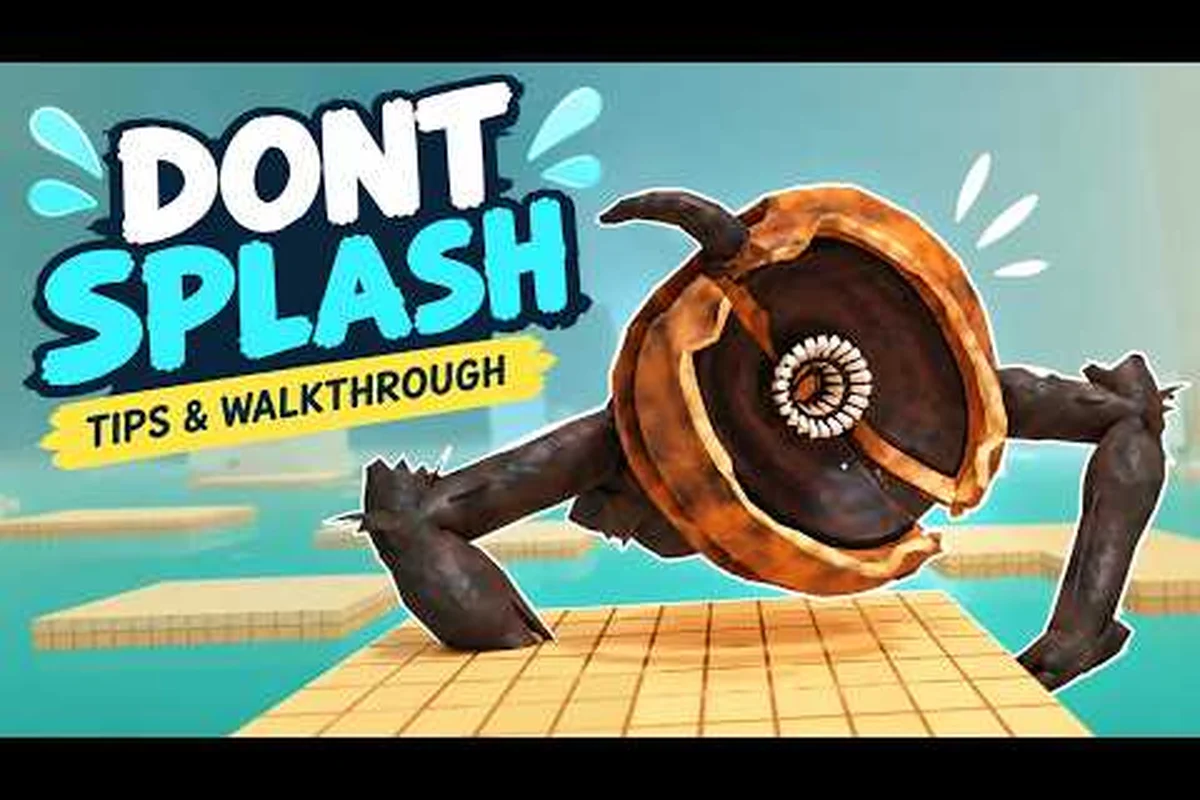
DONT SPLASH winning strategy: Avoid Early Mistakes
Improve your run with a dont splash winning strategy covering routes, survivability, checkpoints, and common beginner mistakes before you attempt the escape.