
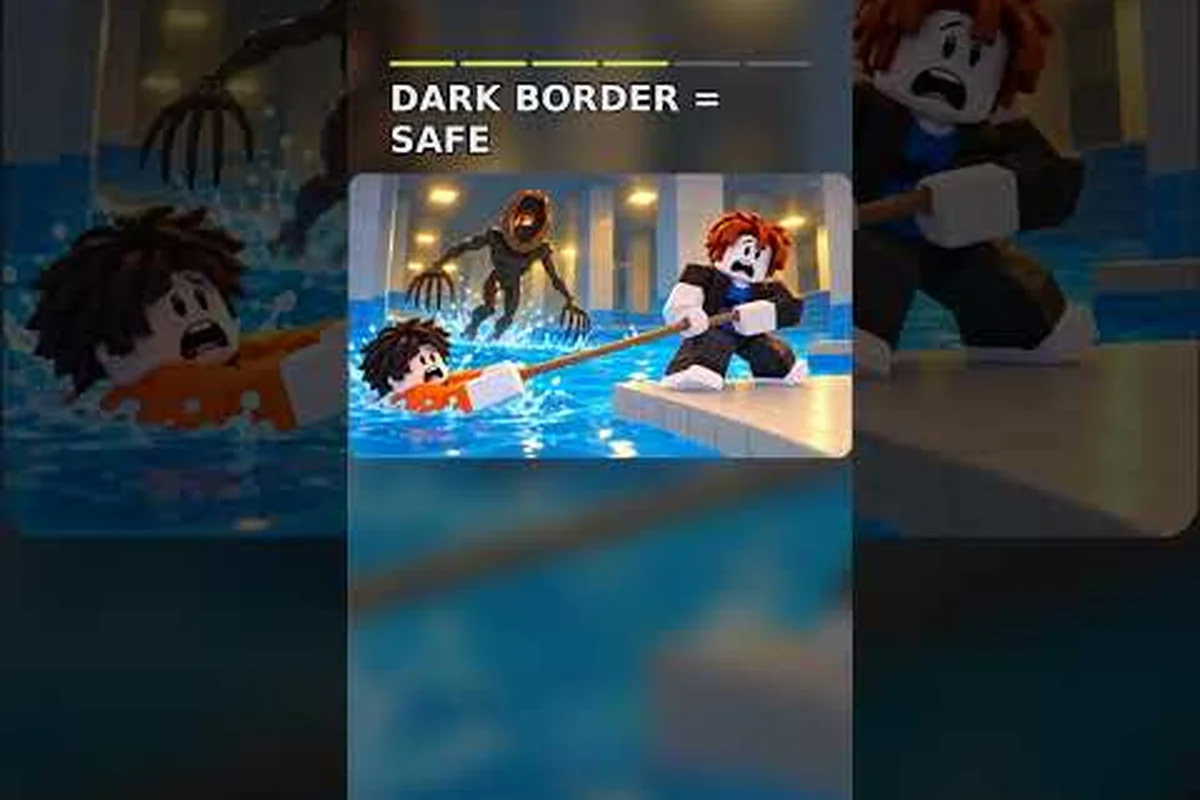
Knowing the dont splash max pebbles limit and the caps on throwing range, flare radius, and battery capacity prevents a loadout from running dry at the worst moment, because one wasted throw can expose a route and leave you without a decoy during a dangerous crossing.
DONT SPLASH max pebbles and tool limits
Understanding dont splash max pebbles limits matters because one wasted throw can expose your route, drain a limited hotbar slot, or leave you without a decoy during a dangerous crossing. The official DONT SPLASH game page confirms that pebbles, flares, toy batteries, and a rescue rope support different escape situations, so capacity, reach, and recharge decisions belong in the same loadout plan. Get the numbers and practical priorities below before your next run.
Pebble capacity, skipping, and throwing range
A run without upgrades caps the pebble supply at eight, while max-stat passes can raise related utility attributes to level 3/3. This makes the question of dont splash max pebbles simple at the baseline but more important after progression: the answer depends on whether your account or run has access to permanent upgrades.
| Loadout state | Pebble capacity | Best use |
|---|---|---|
| No upgrades | 8 pebbles | Reserve throws for genuine danger points |
| Permanent max-stat pass | Upgraded utility attributes at 3/3 | Cover longer routes with more reliable throws |
| Temporary run configuration | Depends on active setup | Check the hotbar before committing to a stage |
The video evidence separates capacity from performance. Gameplay from UnoTwo demonstrates tool cooldowns and limits, while the official listing identifies throwing range and pebble skipping as relevant utility stats. In practical terms, a larger pile matters less if the pebble cannot reach the intended area or if it skips away from the threat. A useful loadout therefore answers three questions: how many pebbles remain, how far can one land, and will it bounce in a direction that creates a distraction?
How pebble skipping changes the throw
Pebble skipping describes a throw that continues beyond its initial landing point. That movement can widen the area it affects, but it can also make the result less predictable than a direct throw. The sensible approach is to choose skipping throws for open spaces where a slight deviation remains useful, while direct throws suit narrow platforms or routes where every meter of control matters.
-
Throw early when a long leap follows, so the decoy is active before the risk increases.
-
Avoid unnecessary skips near a teammate, because a redirected pebble may create confusion.
-
Test how the selected hotbar item behaves before relying on it around a tight landing.
-
Preserve the final throw for a recovery attempt rather than using it to decorate a safe route.
Eight as the base pebble limit is enough for deliberate play if every throw solves a distinct problem. Players following the early tips video from TonyCool treat pebbles as the first priority because they serve as the only active decoy, which is a stronger reason to conserve them than cosmetics or low-impact extras.
The role of dont splash throwing range
Throwing range determines whether a decoy can influence the water before the player reaches it. A short-range throw may land safely but too late, while excessive distance can send a pebble beyond the useful zone. The best range is not simply the largest number; it is the setting that lets you land a throw predictably at the required distance.
| Tool situation | Range decision | Reason |
|---|---|---|
| Short platform before water | Use moderate distance | A long throw may overshoot the decoy area |
| Wide gap with open landing zone | Favor greater distance | More separation can improve timing |
| Narrow or crowded route | Prioritize control | Predictability matters more than maximum reach |
| Emergency pursuit | Use the available reach | The immediate objective is to create distance |
DONT SPLASH throwing range is therefore a timing tool as much as a distance tool. A player who understands where a pebble lands can throw during the safer part of a jump, while a player with weaker control may need to throw earlier. The DONT SPLASH tools guide explains the general tool actions, and pairing those controls with a measured range plan makes each pebble more valuable.
Flare radius, toy battery, and rescue rope limits
Flares, batteries, and ropes solve separate problems. A flare creates visible coverage, a toy battery powers light-based utility, and a rescue rope helps recovery or ledge access. Treating all three as generic “support items” is wasteful, because the relevant limits differ in coverage, charge, reuse, and reach.
| Tool | Core function | Limit to monitor | Best timing |
|---|---|---|---|
| Flare | Illuminate a dark or dangerous area | Flare radius and available uses | Before entering an unlit stretch |
| Toy battery | Power light utilities | Finite charge | Late in the run if earlier sections are lit |
| Rescue rope | Reach a ledge or recover from a bad position | Rope reach and rescue speed | After a safer option has failed |
| Pebble | Distract danger across water | Inventory capacity and cooldown | Before a risky jump or crossing |
The official game listing identifies flare radius, toy battery, rescue speed, and rope reach as utility attributes associated with the tools. A verified walkthrough by Zac Worthy shows the basic tool hotbar behavior: number keys select a tool, pressing the key again puts it away, and clicking throws or uses the selected item. That means switching tools has a real operational cost, and a strong arrangement should minimize unnecessary changes.
When to Use Flare Coverage in a Route
Flare radius controls how much of the route is covered by the light. A wide radius can make a dark section safer, but it should not be spent before you know where darkness begins. Community footage from the stages run shows flares being used in a dark section, which illustrates the intended sequence: deploy the light before the obstacle, then keep moving rather than waiting beside the tool.
A flare is most valuable when visibility affects the next decision. If a player can already judge the platform positions, the flare may be unnecessary, but if the next landing is concealed, coverage becomes more important than saving the item. The relevant comparison is not simply “large radius versus small radius”; it is useful visible area against the route segment that actually requires sight.
Toy battery capacity
Toy battery charge determines how much work the battery-powered light can perform before it runs out. The current gameplay evidence describes it as a finite charge, while the related max-stat upgrade can raise the toy battery attribute to 3/3. That distinction matters because a stronger battery can improve utility without turning the tool into an unlimited supply.
When evaluating dont splash toy battery max, focus on the route’s total darkness rather than the display label. A level 3/3 battery may make long corridors manageable, but it still needs to be reserved for unlit areas. If the stage provides flare coverage first, the battery can remain untouched until a later obstacle. If the battery is already charged at maximum, players still need to account for how long that charge will last.
Rescue rope and recovery range
The rescue rope is a reusable recovery tool for reaching ledges or recovering from an unfavorable position. That reusability gives it different strategic value from a consumable pebble or flare. A rope can become a bridge after a failed attempt, yet using it too early may waste the reach required for a harder recovery later.
| Recovery need | Better first choice | Rescue rope role |
|---|---|---|
| Danger pursuing across water | Pebble decoy | Secondary safety net |
| Hidden landing | Flare or battery | Reveal a safe rope anchor |
| Missed platform | Rope if reachable | Reclaim the route |
| Teammate in a bad position | Rope if within reach | Pull them to safety |
Rope reach and rescue speed determine whether a recovery attempt succeeds, and both can reach their maximum values with the relevant permanent upgrade. The community tips prioritize a reusable rope alongside pebbles, which makes sense when a route contains several bad positions. The tool durability and rope strategy overview adds useful context for comparing a reusable tool with consumables.
Pebble, flare, battery, and rope comparison
The best tool depends on the failure you expect. Pebbles create distance, flares reveal space, batteries sustain light, and ropes provide a physical recovery path. A useful loadout prioritizes the tool that prevents the most likely costly mistake instead of the one with the largest headline stat.
| Tool | Main advantage | Main weakness | Priority for early runs |
|---|---|---|---|
| Pebble | Active decoy across water | Limited capacity and control | Very high |
| Flare | Broad visibility in dark areas | Uses and radius still matter | High |
| Toy battery | Portable light with upgradeable charge | Finite energy | Medium to high |
| Rescue rope | Reusable ledge access and recovery | Reach and rescue speed limit | High |
Tool role clarity is what separates an effective inventory from a cluttered one. If every stage begins with a pebble, a flare, a battery, and a rope, the player may still fail because the most urgent tool is not selected at the right moment. The loadout should answer the stage’s expected hazards, while the hotbar order determines how quickly the correct response is available.
How to read dont splash max pebbles
There are two commonly confused parts of the same system: the number of pebbles available and the attributes that determine how effectively they work. The official information and verified gameplay support a baseline capacity of eight pebbles without upgrades, while max-stat passes can set throwing range, pebble skipping, flare radius, toy battery, rescue speed, and rope reach to 3/3.
| Question | Best-supported answer |
|---|---|
| How many pebbles can a basic run hold? | Eight without upgrades |
| Does a max-stat pass improve pebble tools? | It can set related utility attributes to 3/3 |
| Is battery power unlimited? | No, the toy battery uses finite charge |
| Can the rescue rope be reused? | Yes, it is reusable for recovery and ledge access |
| Should capacity be the only purchase priority? | No, control, reach, and tool-slot access also affect value |
When someone asks for the dont splash max pebbles limit, answer with the condition attached: eight is the unupgraded run cap, while upgraded accounts can benefit from stronger range and skipping attributes. Avoid promising a larger universal pile unless the current game display confirms it, because verified material supports the baseline cap more clearly than an account-wide maximum inventory number.
Practical loadout and upgrade priorities
A strong route plan starts with the threat sequence, not the lobby shop. Identify where water can be crossed, where darkness hides a landing, and where a missed jump could place you below the path. Then assign the tool that answers that threat and delay everything else. This makes it easier to decide whether a pebble should be spent now or preserved for a later wall.
Before entering a stage
-
Count the tools currently in the hotbar and note which are active.
-
Check whether the pebble supply is near its cap of eight.
-
Identify the section most likely to require a decoy.
-
Mark the first dark stretch for a flare or battery.
-
Keep the rescue rope available for a position that no other tool can solve.
A planned opening throw is often more valuable than a larger reserve. Throw the first pebble before the most visible jump, learn whether it skips as expected, and adjust the second throw. This behavior turns throwing range and skipping into usable information rather than settings that exist only in menus.
During the run
Use pebbles when danger is close enough that a decoy can redirect it. Use a flare when visibility is the obstacle, and use a battery when the light must last across multiple sections. Reserve the rope for a genuine recovery problem or a ledge that cannot be reached safely otherwise. If you have only one active tool slot early on, pebbles offer the broadest immediate use because they can influence danger across water.
The footage described in the no-commentary stage run shows a similar sequence: a pebble is timed before a risky jump, a flare covers a dark section, and a rope recovers a teammate. Community experience also recommends buying pebble upgrades early, then saving cash for a fourth tool slot before spending on cosmetics. That priority reflects the practical difference between a stronger tool and the ability to carry and switch among several tools.
When cash is limited
Use cash on the upgrade that fixes your most common failure. If you routinely land too close to a decoy, improve throwing range first. If throws disappear beyond the threat, work on pebble skipping control. If darkness causes missed jumps, prioritize flare radius or the toy battery. If recovery from failed landings is the recurring issue, improve the rescue rope instead.
| Common problem | Best upgrade priority | Why |
|---|---|---|
| Pebbles fall short | Throwing range | Increases usable reach |
| Throws land unpredictably | Pebble skipping | Improves control at useful distances |
| Dark ledges are missed | Flare radius | Broadens visible coverage |
| Light fades too early | Toy battery | Extends powered utility |
| Recovery falls short | Rope reach | Expands usable rescue distance |
| Too few tools available | Extra tool slot | Improves access and switching |
Upgrade order should follow repeated mistakes, not a universal shopping list. The cash-spending upgrade guide can help map available purchases to the problem they solve, but the strongest purchase is the one that removes the failure occurring most often in your routes.
Advanced timing and run-analysis checklist
Even a correct loadout fails if tools are activated at the wrong time. A pebble thrown too early may stop attracting attention before the player arrives, while a flare placed too late cannot illuminate the already visible jump. The advanced approach is to align each tool with a predictable event in the route.
Time the decoy to the threat
A decoy should be active at the moment danger is most likely to notice movement. Start the throw before a long jump if the pebble needs time to travel, but account for the throw animation and any cooldown. If the stage has a short crossing, a direct placement may be better than a long skip because reliability matters more than coverage.
Threat timing is the part of pebble use that cannot be improved by a larger inventory alone. Keep the next throw available, watch how earlier throws behave, and adjust skipping distance to the size of the water area. If a pebble has already attracted danger, do not waste another one unless a second crossing changes the threat’s position.
Preserve resources across contrasting sections
Light tools and decoys work best when each is assigned to a distinct section. A flare may cover a dark tunnel, while the toy battery should be kept for a later outdoor hazard that has no flare coverage. Likewise, the rescue rope remains most valuable after safer recovery methods have failed. This resource separation makes the full toolset feel more capable than its individual stats suggest.
Use a quick run note with three markers: decoy point, visibility point, and recovery point. If a section has none of these, avoid spending a support tool there. If it has more than one marker, decide which one can handle the problem. Pebbles usually answer immediate movement threats, flares reveal terrain, batteries sustain lighting, and ropes physically bridge distance.
Verify changes after updates
Tool values and hotbar behavior can change as the game develops. The figures in this guide reflect the official listing and verified gameplay available on October 24, 2026, including the eight-pebble baseline cap, finite toy battery charge, reusable rescue rope, and 3/3 max-stat attributes. Check the in-game description if a patch changes upgrades, because a displayed max value should take priority over an older guide when the two conflict.
Frequently Asked Questions
What is the dont splash max pebbles limit?
The verified baseline is eight pebbles per run without upgrades. Permanent max-stat upgrades can improve related attributes such as throwing range and pebble skipping, while the official listing points to broader utility progression. Check the current in-game hotbar for account-specific values, because the supported evidence clearly confirms the unupgraded cap of eight.
Does pebble skipping make a throw harder to control?
Yes. A skipping pebble can cover more ground or redirect a distraction, but the extra movement makes its landing less predictable. Use direct throws on narrow platforms, where control matters, and reserve longer skips for wide water areas. A modest improvement in dont splash pebble skipping is valuable only if you can still place the decoy near the intended threat.
Should players buy the toy battery upgrade first?
Not necessarily. The battery is most valuable in stages with sustained darkness, while pebbles can influence danger throughout many routes. Upgrade the toy battery first if missed ledges caused by poor visibility are your recurring problem. Otherwise, prioritize throwing range, pebble control, or an extra tool slot that gives you better access to every tool.
When is the dont splash rescue rope the best choice?
Use the rope when the problem is physical reach: a missed ledge, a gap that cannot be crossed, or a teammate in a recoverable position. It is reusable, so do not spend it on a problem that a pebble or flare can solve. Its effectiveness depends on rope reach and rescue speed, making those attributes important in recovery-heavy stages.
How should max flare radius, battery, and rope upgrades be balanced?
Treat the three upgrades as complementary rather than competing. A wider flare can reveal a rope anchor, a stronger battery can preserve light farther into the route, and improved rope reach can complete a recovery that the earlier tools made possible. Compare your recurring failures with the permanent utility upgrade breakdown before deciding which combination deserves priority.
The clearest takeaway is simple: baseline players manage eight pebbles, upgraded accounts can benefit from stronger utility attributes, and no single stat replaces good timing. Build a loadout around the route’s specific threats, use pebbles for active distraction, reserve light for visibility, and keep the rope ready for recoveries that nothing else can solve.